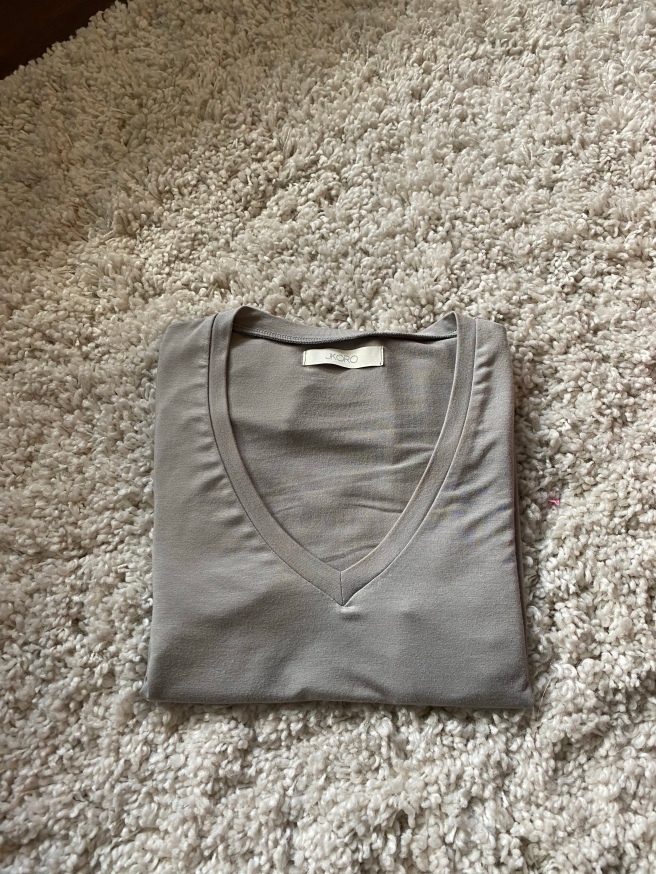
I’ve made plenty of V necklines and not always thrilled with the results.
I’ll show you the technique that works best for me.
Your V neckband piece should look something like this:
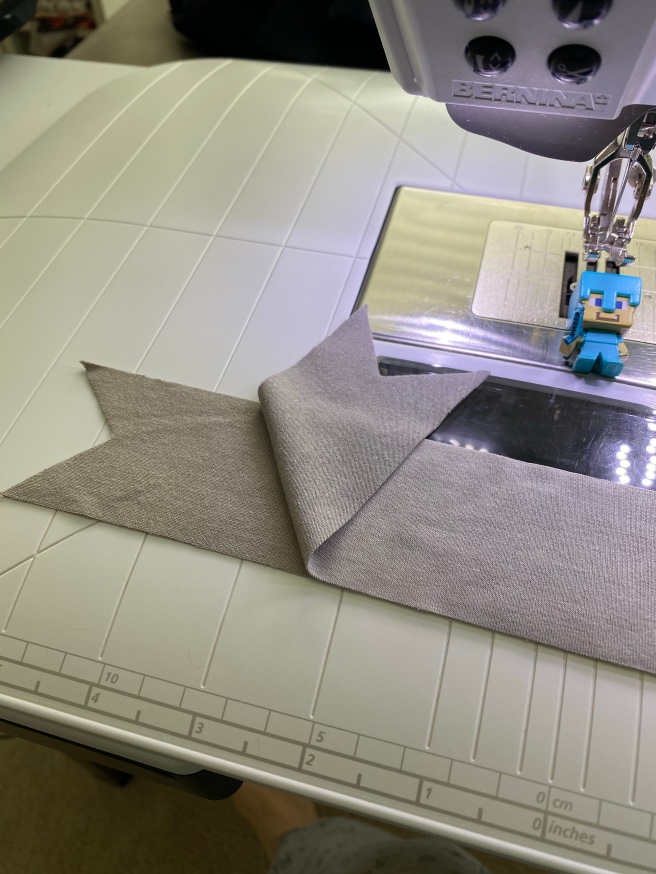
I will be using a combination of my regular sewing machine and a serger. But it can totally be done with just your regular sewing machine.
Sew the shoulder seams of your front and back pieces of the tee shirt. Press the serged seams to the back. Add the sleeves to the top and press towards sleeve. I am a big believer of a iron!
The next step will be sewing the right sides of that V neckband together with a 1/4″ seam. Press the seams flat and clip just before the stitches. Turn right sides out and press the band flat.
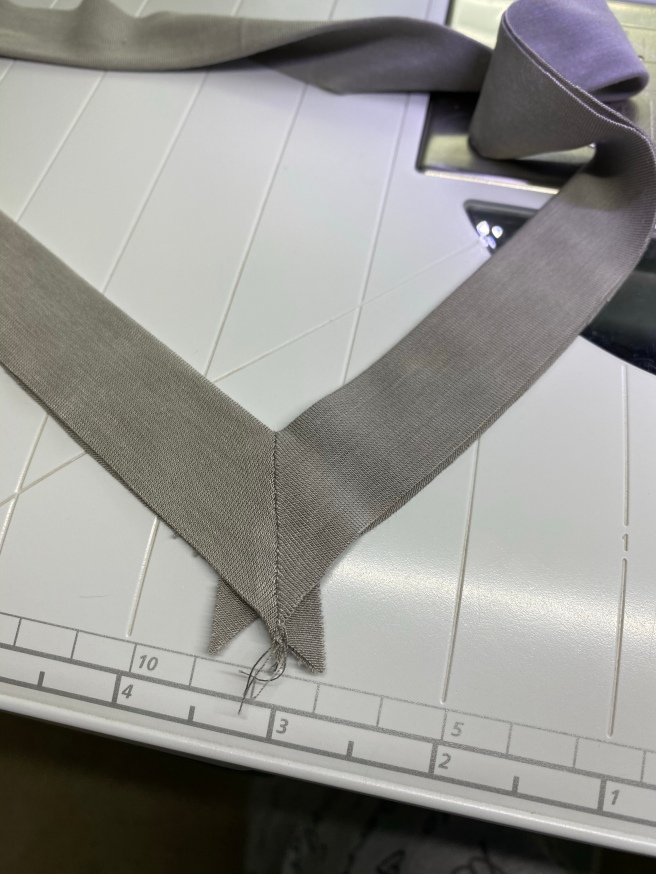
Change your stitch length to a 4 or your favorite basting stitch length.
Baste on the front piece one inch before the V and turn and go up the other side another inch. The fabric here is a rayon spandex and very slippery so I added a piece of tear away stabilizer underneath.
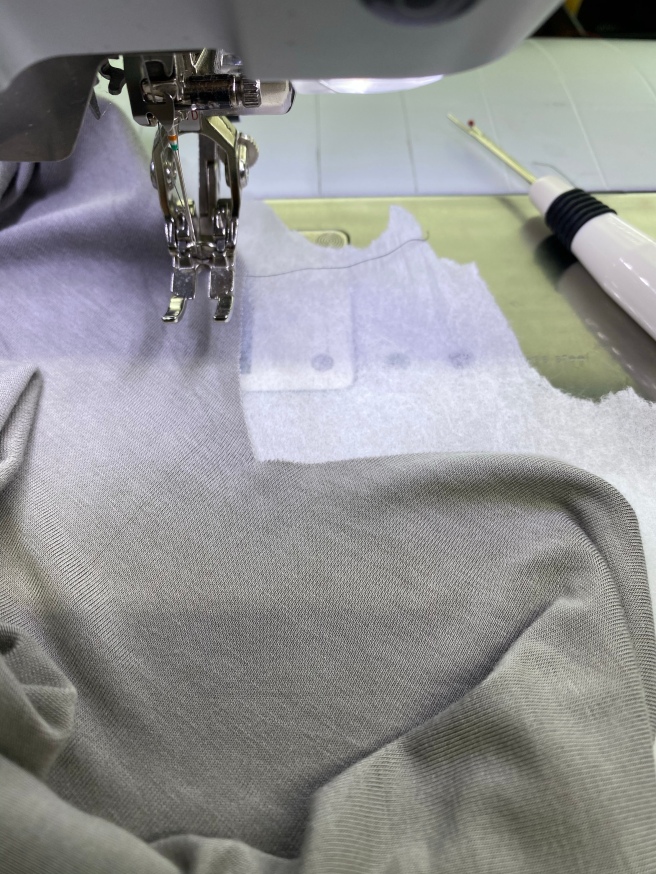
Then clip just to the stitches.
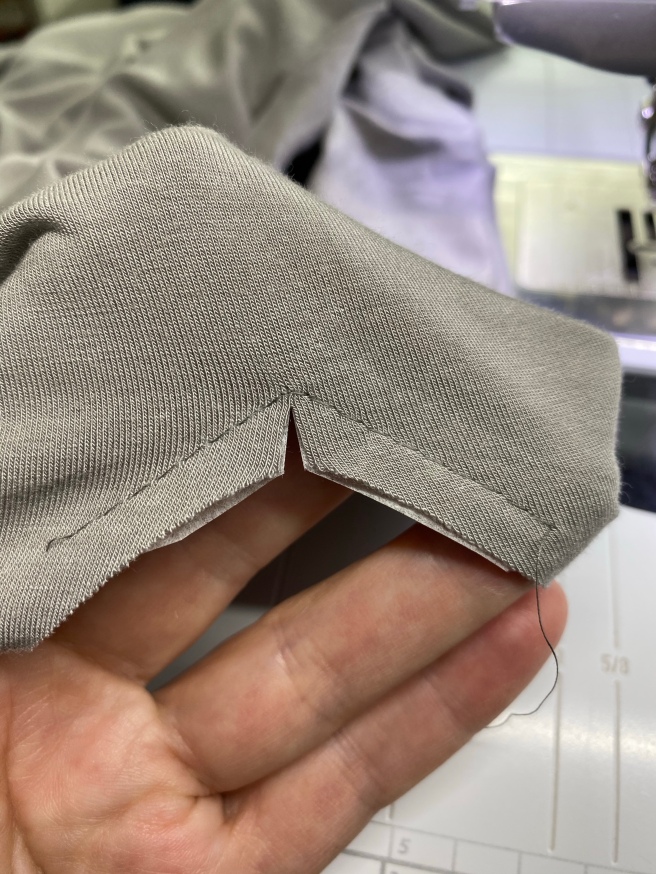
Baste on the neckband too, one inch or so above and the other side of the V.
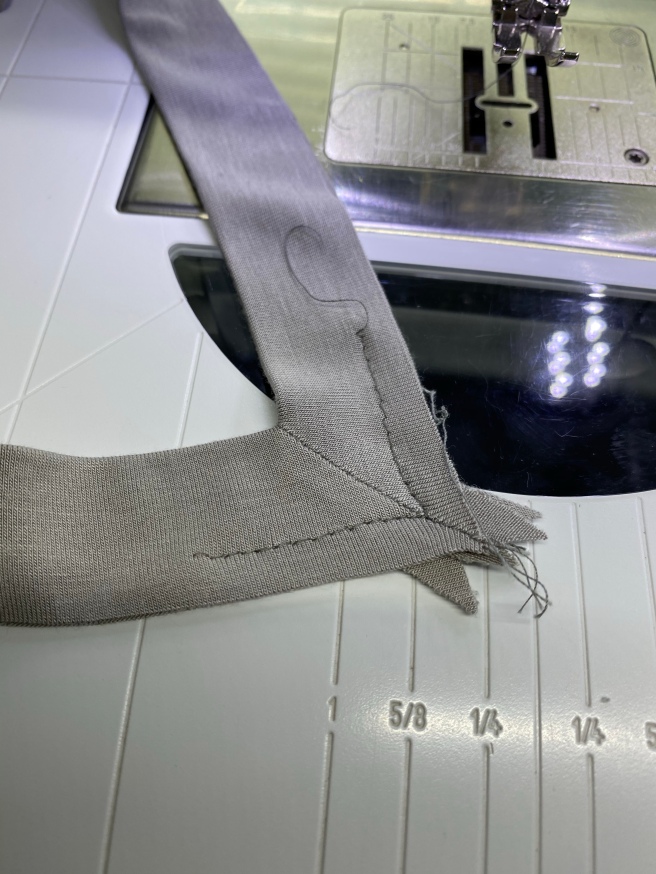
This looks like more than a inch, no big deal.
Then you are ready to start attaching this band to the body of your shirt!
Stick a pin right where the V meets on the neck band and attach it right to V of the body of the tee.
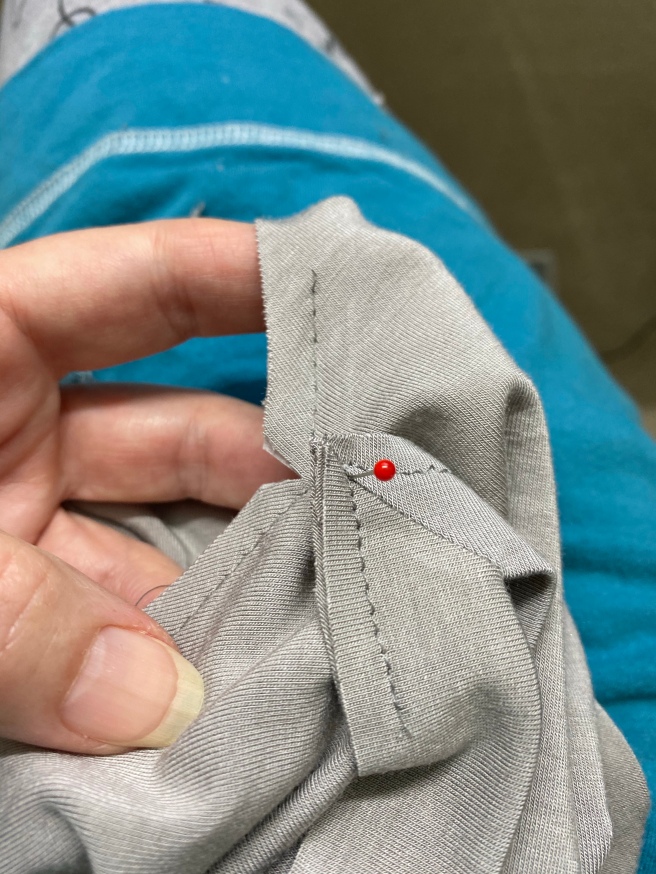
Turn this up to one side and sew just outside the basting stitch with your regular stitch length. You can either turn here and go up the other side or if you are afraid, backstitch and cut threads. And repeat for the other side! 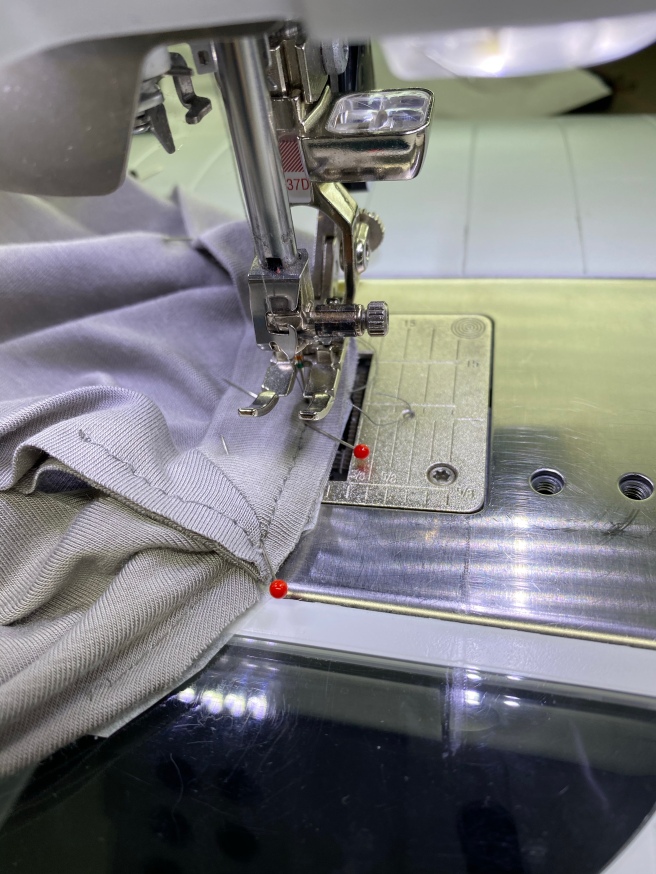
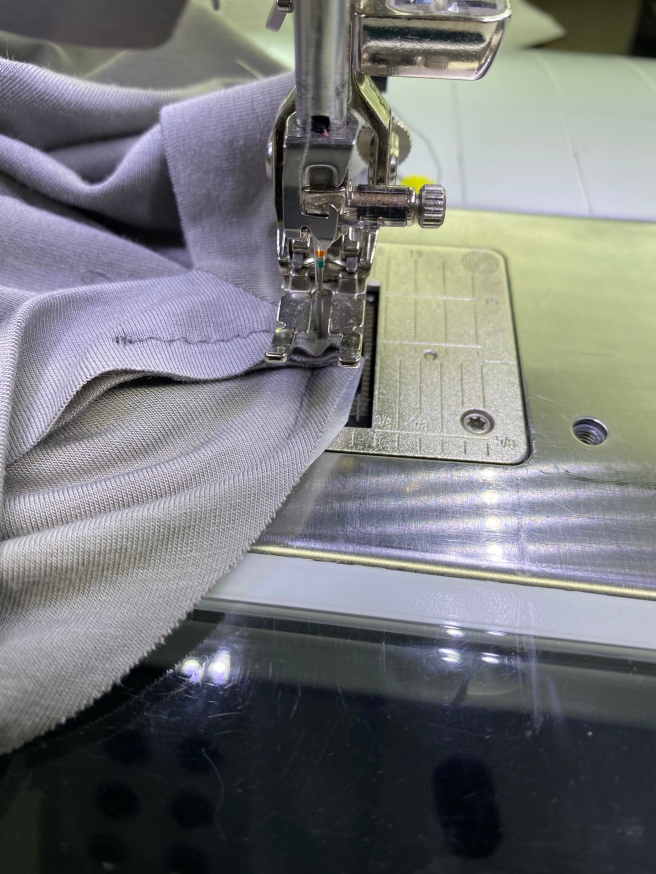

This pic is going up the other side.
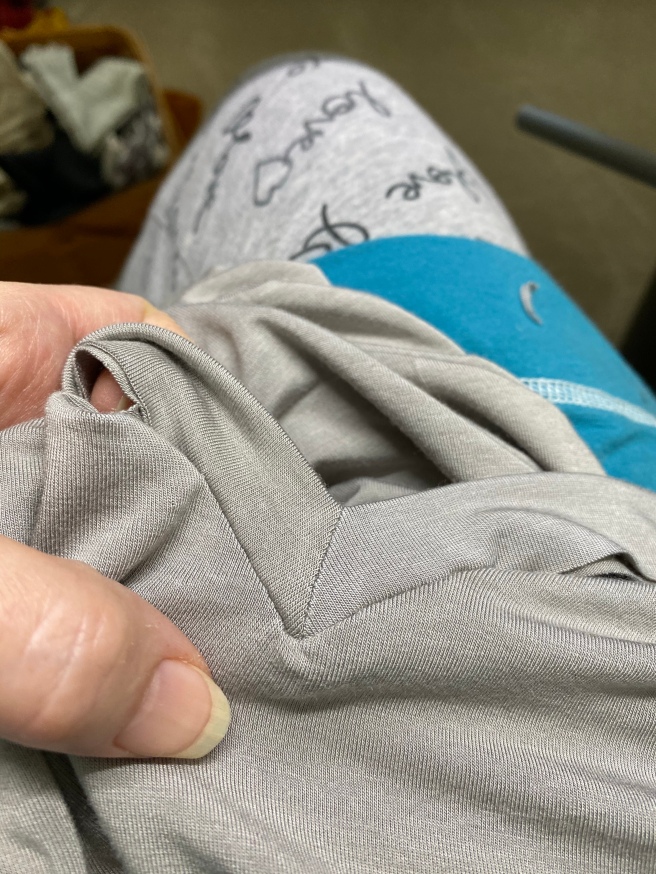
This is what the right side looks like now.
At this point I attach the rest of the band to the shirt. Find the middle of the back and the middle of the band and pin or clip.
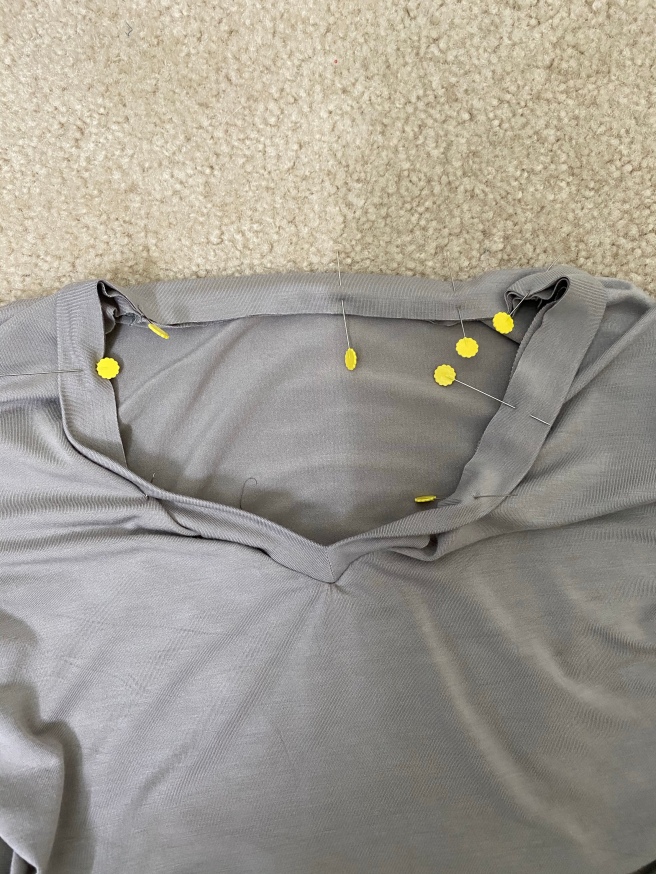
I usually use clips but here I pinned. Stretch the band as necessary but not the shirt.
This is where I switch to the serger. I have it set for a 4 thread overlock.
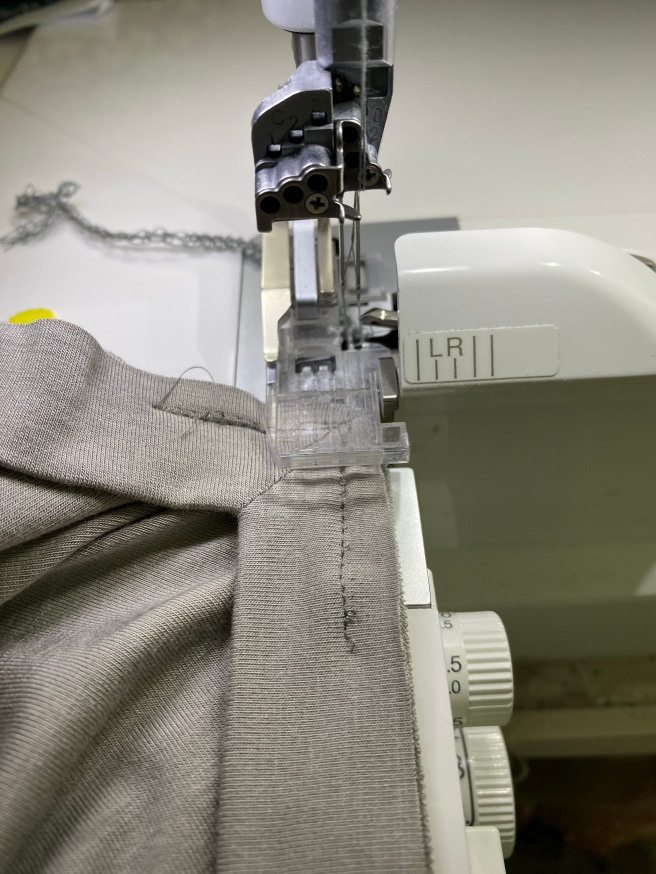
Start at the bottom of the V. You want that left needle to be either right on that stitch line or just to the left of it. Serge all around the band. I did a 1/4″ seam.
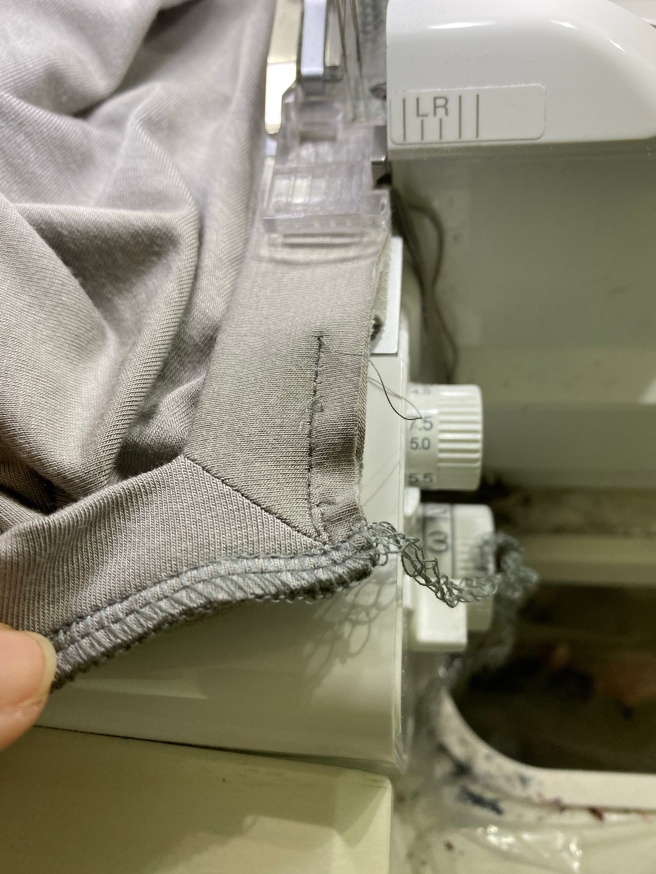
Here I am coming to the end of the other side. Make sure you stitch to cover the previous stitches.
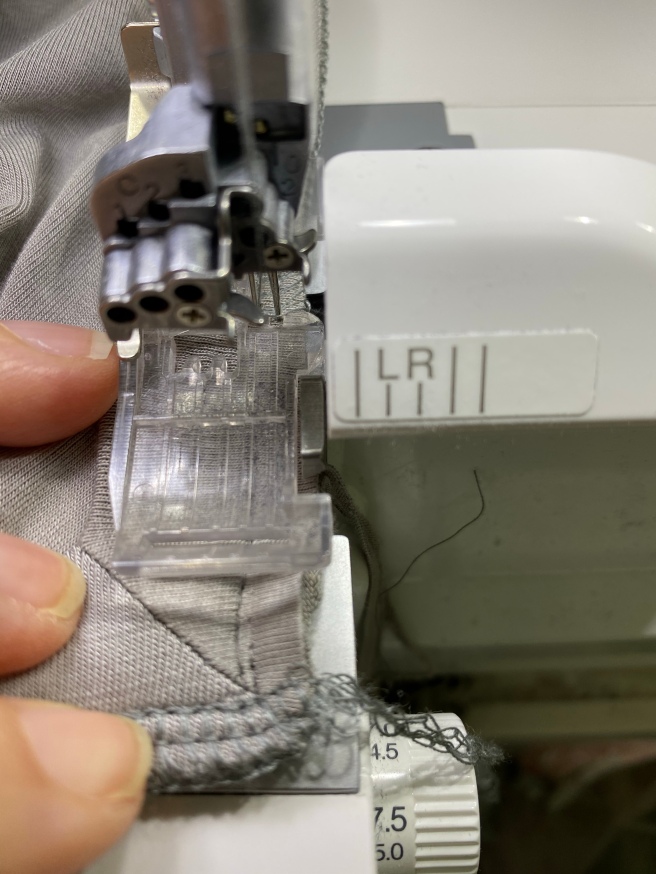
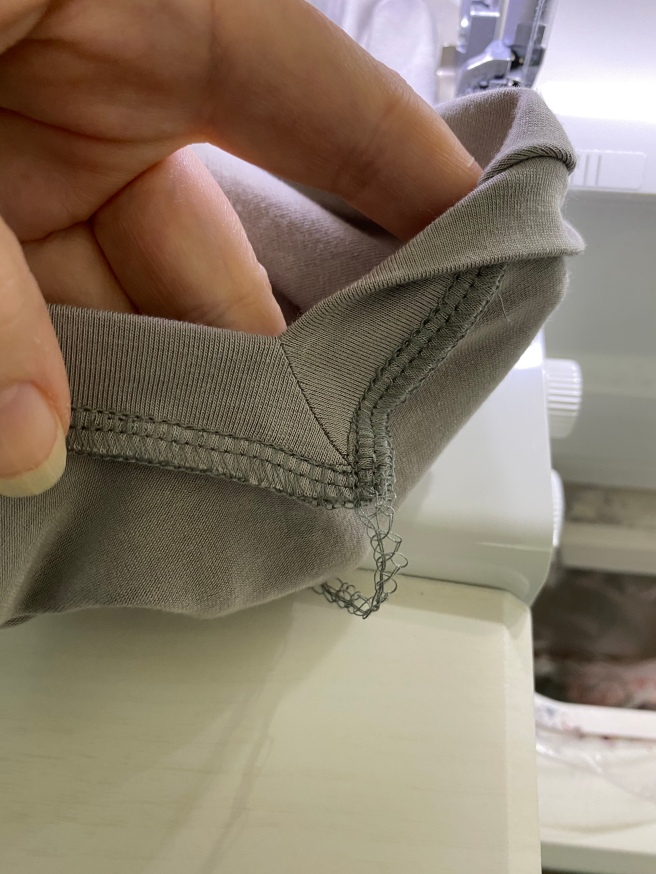
Looks like I missed covering those stitches, I just removed them afterwards. No big deal.
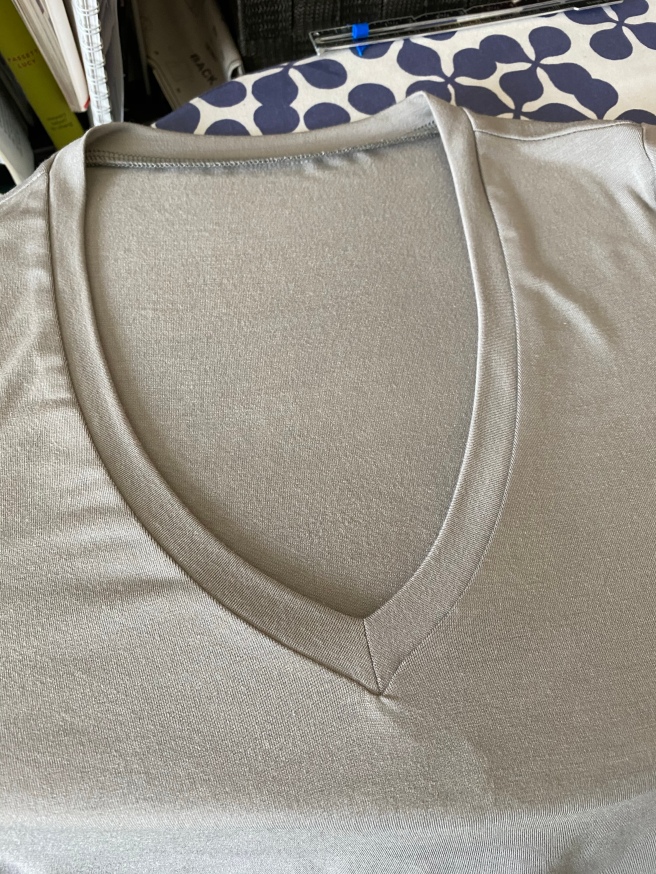
Turn and press. Usually I will use my coverstitch to topstitch but this fabric was not making me happy, so I just didn’t do it.
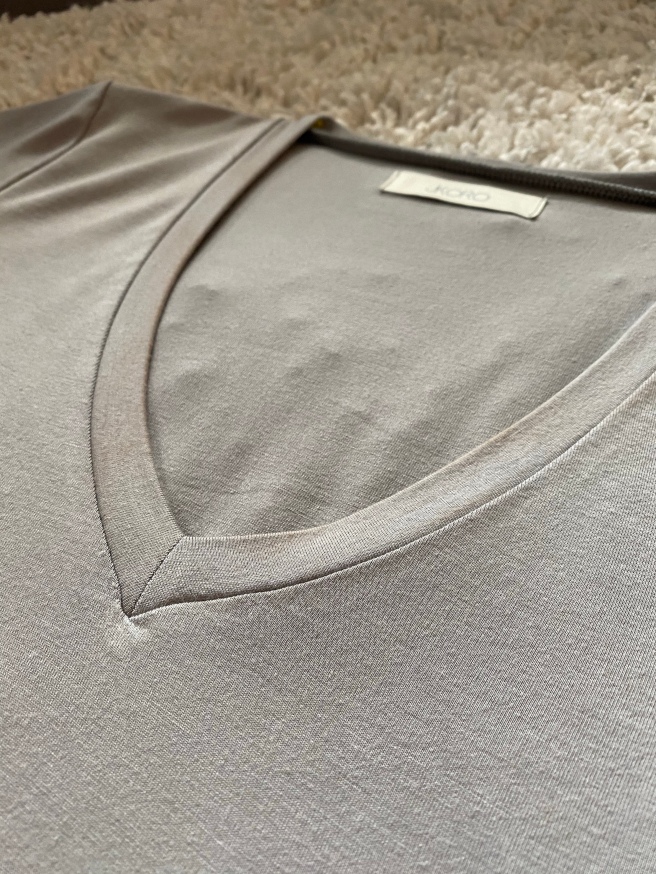
It’s really quite perfect!
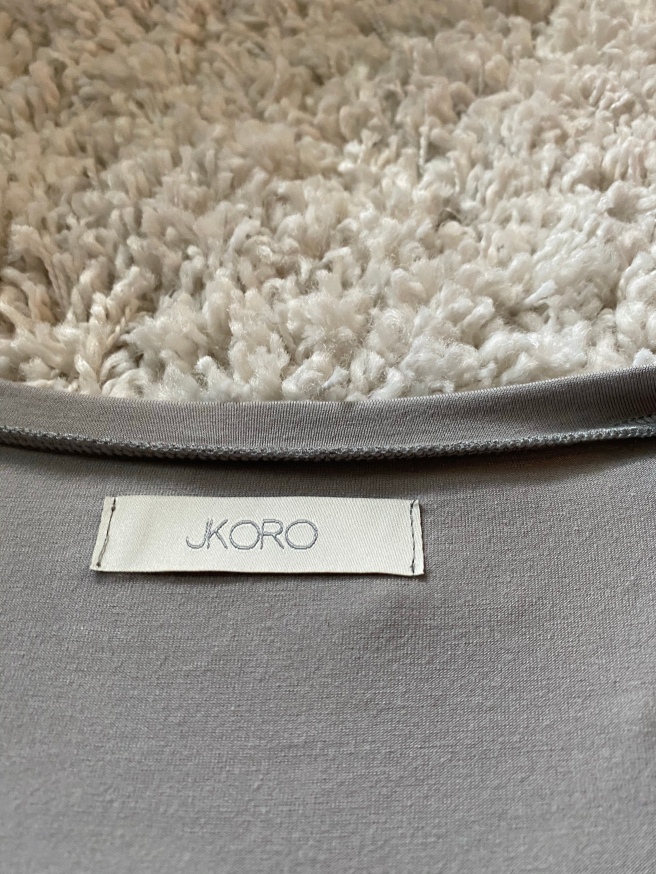
Must never forget at least one label.
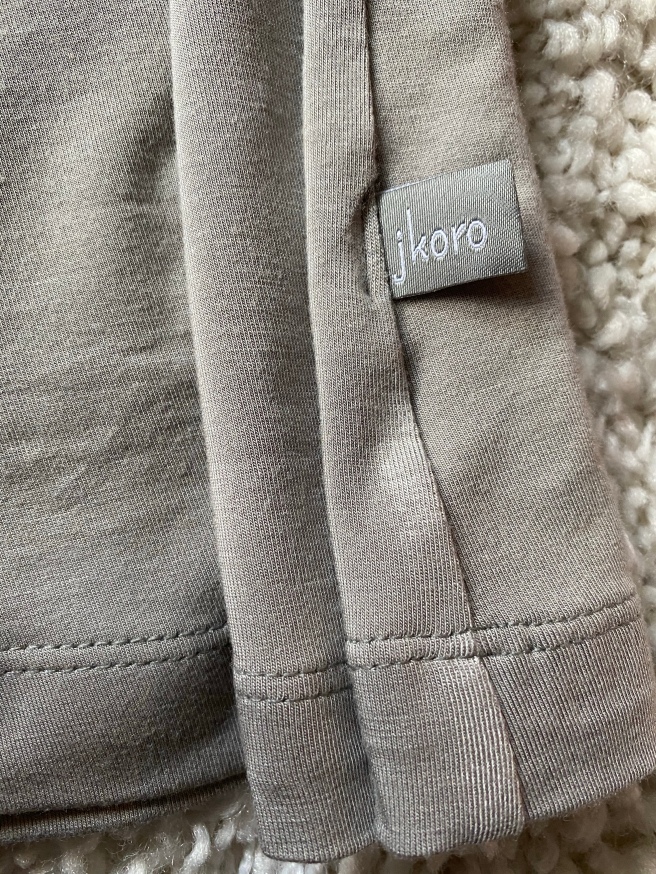
Plus I like to put one of these labels about 3″ above the left hem.
The hems on the bottom and sleeves are coverstitched .
Let me see your V necks!
